EN
EN

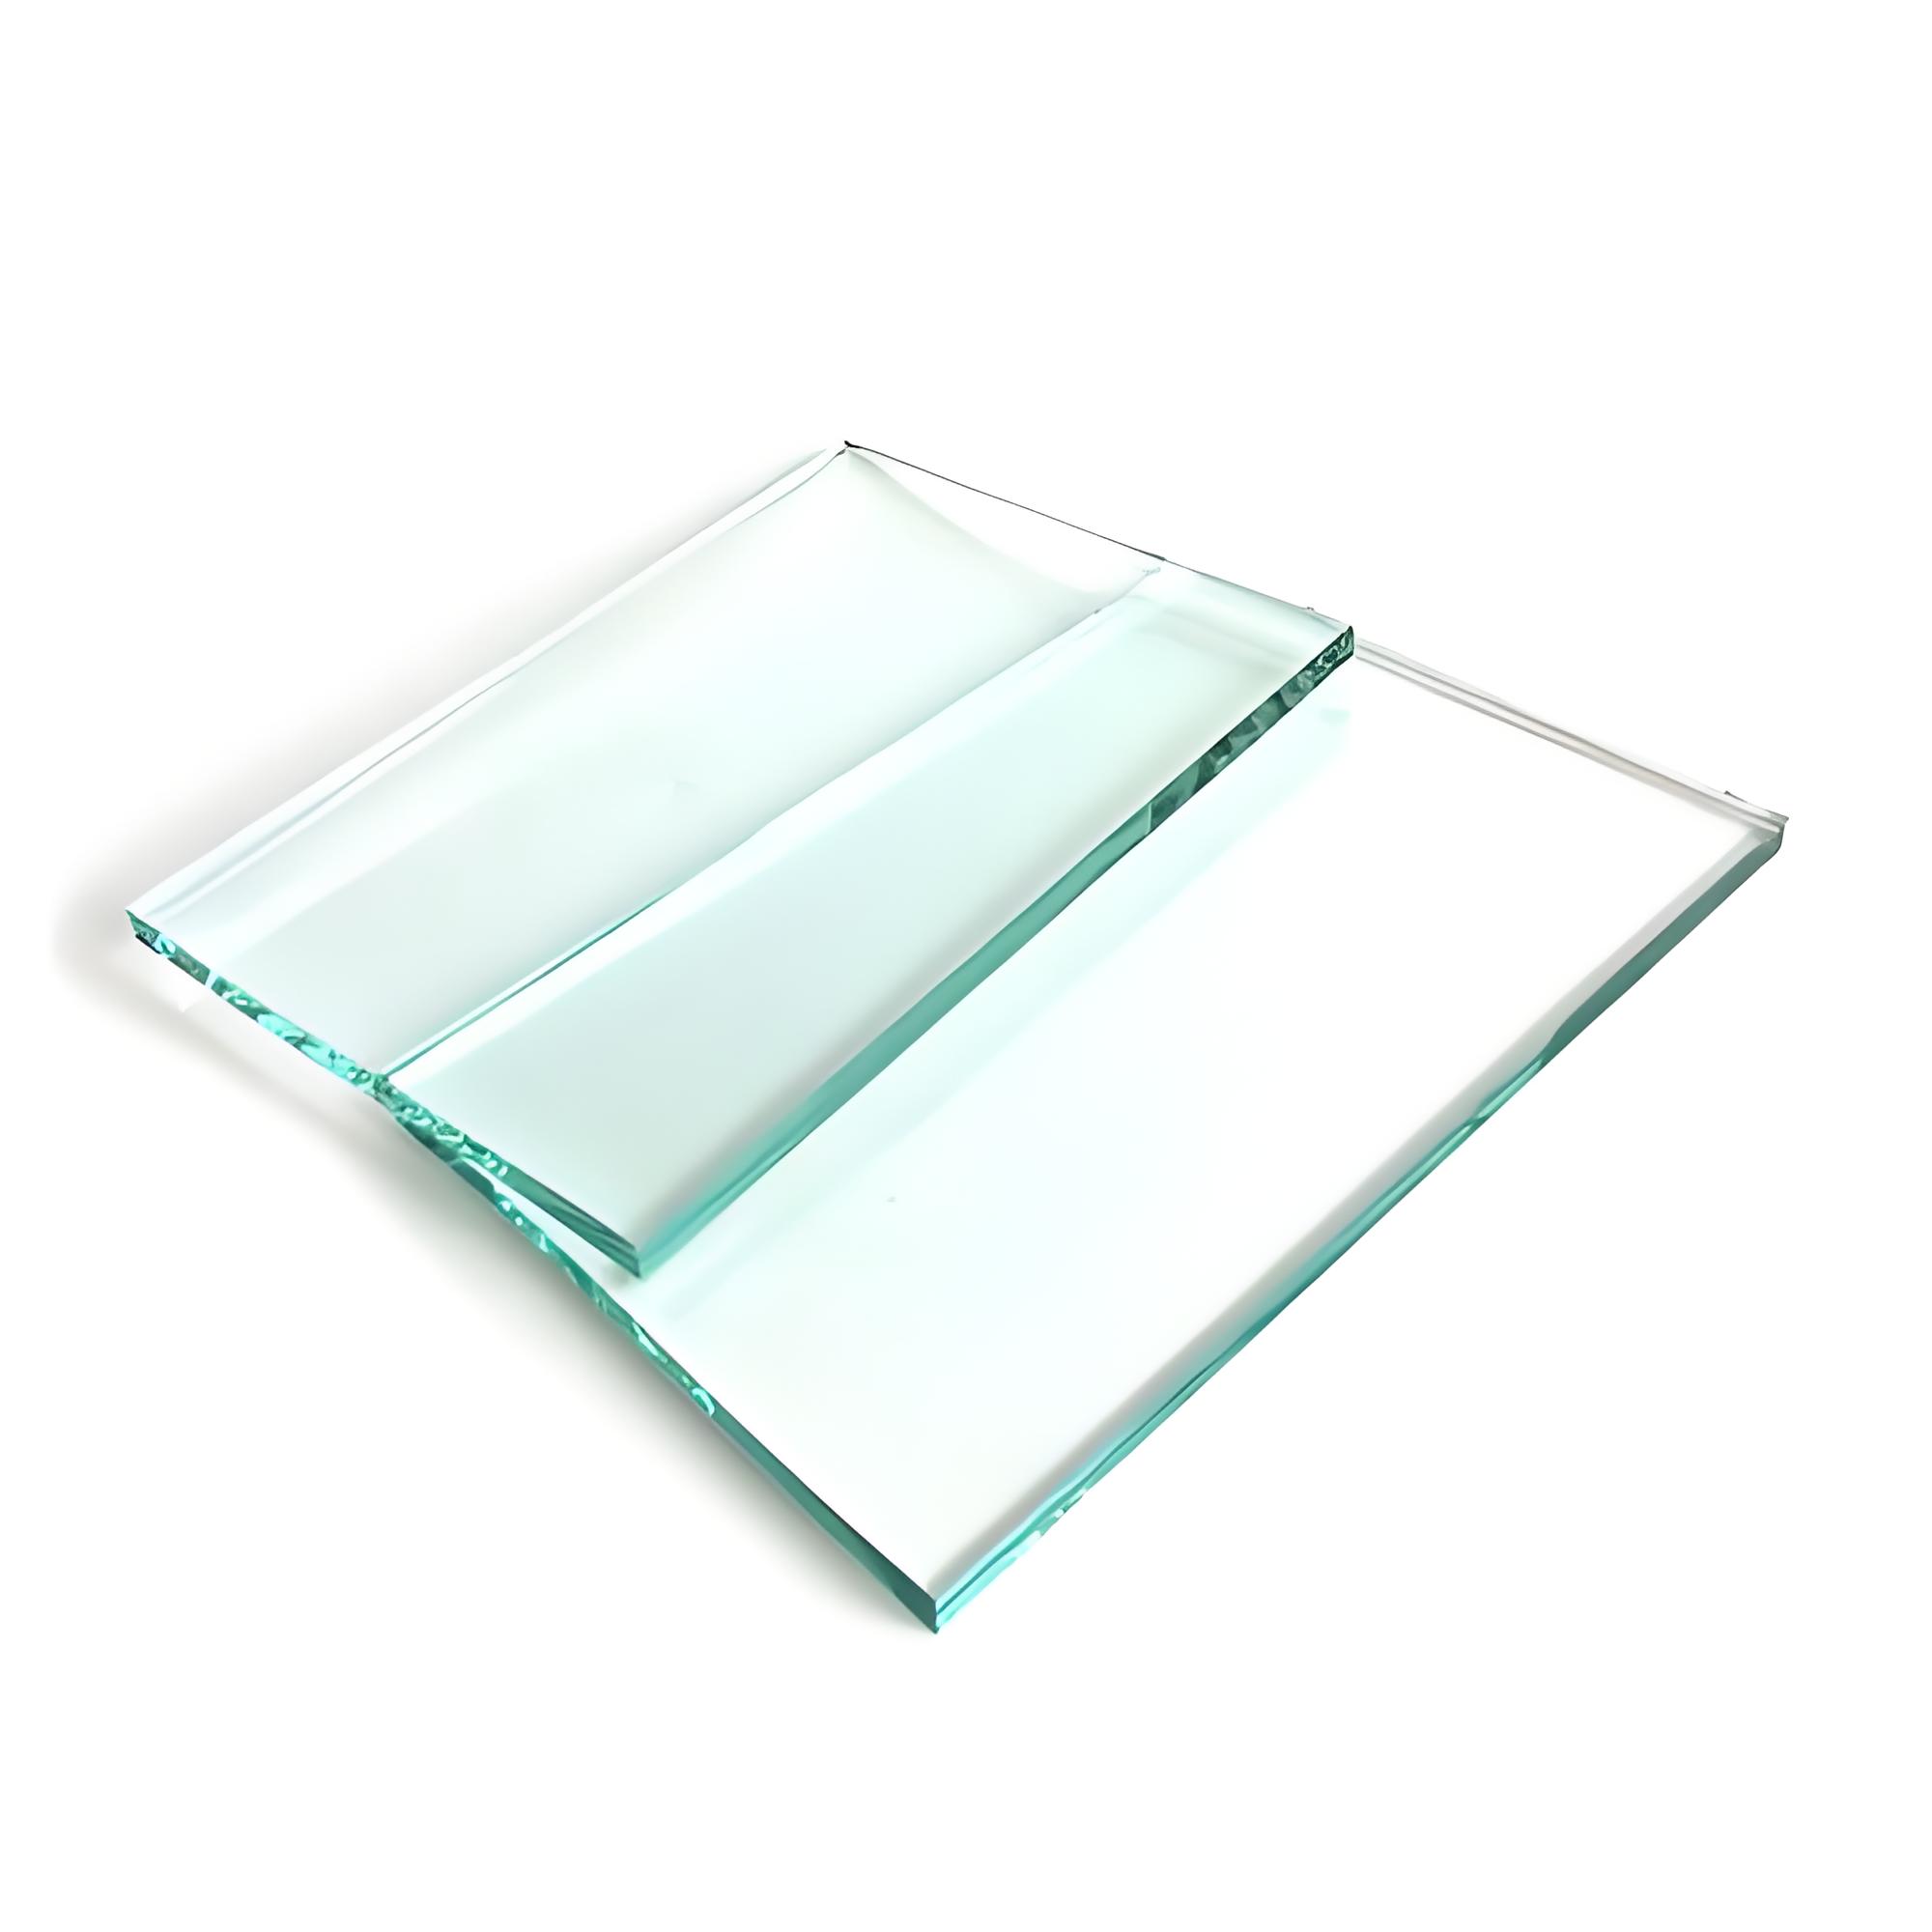
A well-designed glass panel can define the entire look and feel of a smart home appliance. Whether you are creating a touch-enabled light switch, a climate control interface, or a home automation hub, the glass panel serves as both a functional surface and a visual statement. Custom-designing a glass panel is not simply about choosing a color — it involves a disciplined process that balances aesthetics, touch technology, durability, and manufacturing precision. Understanding each stage of this process helps product developers, interior designers, and OEM buyers make confident decisions from concept to production.
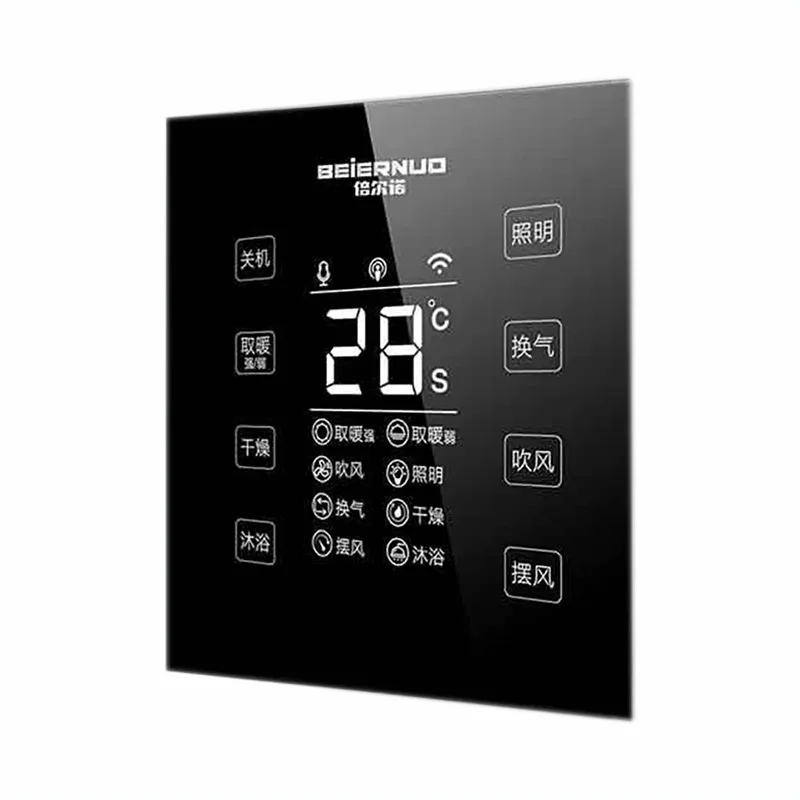
The demand for a premium glass panel in smart home products has grown significantly as homeowners prioritize seamless, modern interiors. A customized glass panel elevates the perceived value of any smart device by replacing conventional plastic surfaces with a refined, high-touch finish. This guide walks through the core stages of custom-designing a glass panel for smart home appliances, providing practical insight at every step of the design and production workflow.
Defining Requirements for Your Glass Panel
Functional and Dimensional Specifications
Every successful custom glass panel project begins with a precise definition of functional requirements. The first question to answer is what role the glass panel will play — will it serve as a capacitive touch interface, a display cover, or purely a decorative surface? Each role places different demands on the glass panel in terms of thickness, optical clarity, and surface coating. For a touch switch application, the glass panel must allow accurate capacitive signal transmission, which directly influences the choice of glass type and thickness. Typical thicknesses for a smart home glass panel range from 3 mm to 6 mm, depending on the panel size and installation method.
Dimensional accuracy is equally critical when custom-designing a glass panel. The glass panel must align precisely with mounting brackets, switch modules, and surrounding trim. Even a 0.5 mm deviation in a glass panel cut can cause misalignment during installation. Before any manufacturing begins, detailed technical drawings must be prepared, specifying the outer dimensions, cutout positions, edge profile, and corner radius of the glass panel. These drawings become the reference standard throughout the entire production run.
Material Selection for the Glass Panel
Choosing the right base material is one of the most impactful decisions in the custom glass panel design process. Tempered glass is the most common choice for a smart home glass panel because it offers superior impact resistance and meets safety standards — when broken, tempered glass fragments into small, blunt pieces rather than dangerous shards. Ultra-clear tempered glass, also known as low-iron glass, is preferred when the glass panel needs to display vibrant colors or backlit indicators without a greenish tint. For applications where the glass panel must withstand repeated daily contact, a hardness-enhanced glass with anti-scratch coating is strongly recommended to preserve the glass panel surface over time.
Design and Finish Options for the Glass Panel
Color, Printing, and Surface Treatment
One of the greatest advantages of a custom glass panel is the wide range of finish options available. Silk-screen printing is the most widely used method for applying color, patterns, or brand graphics directly onto the glass panel surface. This technique bonds ink permanently to the glass panel during the tempering process, ensuring a fade-resistant and scratch-resistant finish. A glass panel destined for smart home use often features solid-color backgrounds — matte black, glossy white, or brushed-effect gray — that complement modern interior palettes. The printing layer on a glass panel can also incorporate functional elements such as icon outlines for touch zones, product labels, or decorative borders.
Surface texture is another dimension of glass panel customization worth careful consideration. A matte-finish glass panel reduces fingerprint visibility and glare, making it ideal for high-touch surfaces in living areas. A glossy glass panel delivers a mirror-like premium appearance that suits luxury smart home environments. Some manufacturers offer a frosted glass panel option, which diffuses backlight beautifully for LED-illuminated switch panels. Selecting the right texture for the glass panel is not purely aesthetic — it also affects the tactile response users experience every time they interact with the smart appliance interface.
Edge Processing and Hole Drilling
Edge processing transforms a raw cut glass panel into a finished, installation-ready component. Common edge treatments for a custom glass panel include flat polishing, beveling, and C-edge grinding. A polished edge gives the glass panel a clean, refined look that suits flush-mount smart switch installations. Hole drilling is often required when the glass panel must accommodate mounting screws or functional cutouts for LED indicators. Precision CNC drilling ensures that every hole in the glass panel is positioned accurately and free of micro-cracks that could compromise the structural integrity of the glass panel under repeated mechanical stress.
Production, Quality Control, and Sampling
Prototype Sampling for the Glass Panel
Before committing to a full production run, requesting physical samples of the custom glass panel is an essential step. A prototype glass panel allows buyers and designers to verify color accuracy, print quality, surface texture, and dimensional fit against actual hardware. Sampling also reveals any design adjustments needed before mass production begins. For smart home applications, the prototype glass panel should be tested with the actual touch sensor module to confirm that the capacitive sensitivity is not compromised by the chosen glass thickness or coating. This hands-on validation prevents costly corrections after large-volume glass panel orders are placed.
Quality Standards and Inspection Criteria
A reliable custom glass panel must pass rigorous quality inspection before shipment. Key inspection criteria for a smart home glass panel include surface flatness, print uniformity, edge finish consistency, and absence of bubbles, scratches, or inclusions. Hardness testing confirms that the glass panel coating meets wear-resistance requirements. For touch-enabled applications, electrical isolation testing verifies that the glass panel does not interfere with the switch module's circuitry. Establishing clear acceptance criteria for the glass panel at the outset of the project ensures that every unit delivered performs reliably in the end product.
FAQ
What glass thickness is recommended for a smart home touch switch glass panel?
For a touch switch glass panel, a thickness of 3 mm to 4 mm is generally recommended. This range allows sufficient capacitive signal transmission through the glass panel while providing the structural strength needed for daily use. Thicker panels may reduce touch sensitivity, so always test the glass panel thickness with your specific sensor module before finalizing specifications.
Can a custom glass panel support backlit LED designs?
Yes, a custom glass panel can be designed specifically for backlit LED applications. A frosted or semi-transparent glass panel diffuses LED light evenly, creating an attractive illuminated effect. The printing layer on the glass panel can include translucent ink zones that allow selective light transmission, highlighting specific icons or touch areas on the glass panel surface.
How long does it take to produce a custom glass panel order?
Lead times for a custom glass panel order vary depending on design complexity, quantity, and surface treatment. A standard custom glass panel with silk-screen printing and tempered finish typically requires 15 to 25 business days from sample approval to production completion. Complex designs involving multi-color printing or special coatings on the glass panel may require additional processing time, so plan accordingly when scheduling product launches.